


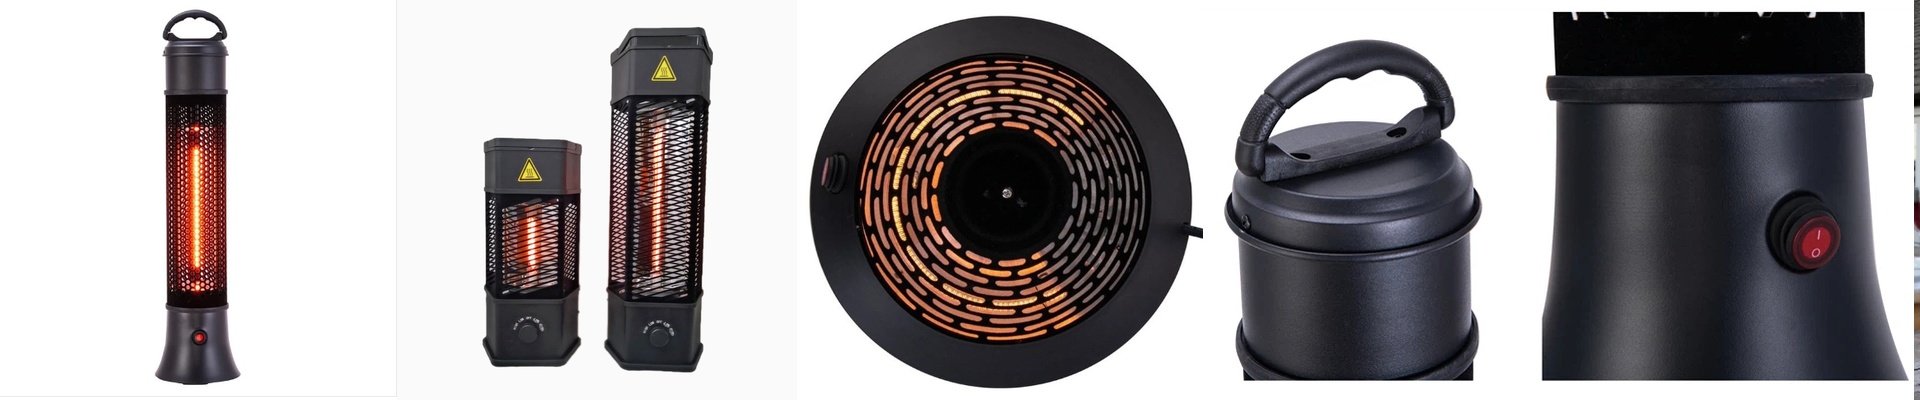

Keeping Your Bathroom Infrared Heaters Safe (Without the Scary Stuff)
Putting a heater in the bathroom is a bit of a gamble. You’ve got steam, splashes, and constant humidity—and as we all know, water and electricity are a nightmare pairing. If the insulation slips up, you’re looking at short circuits or ground faults. To stop that from happening, we focus on three main things. First, we tackle the seals. A simple plastic shell isn’t enough. We use high-grade ceramic insulators and silicone gaskets right at the lamp terminals. Here’s the thing: the spot where the wire hits the quartz tube is usually where things go wrong. It’s the weak link. We fix that by sealing those joints with moisture-resistant epoxy. It basically blocks water vapor from sneaking into the live current. Then there’s the grounding. The housing has to be fully grounded. Period. We use an IP-rated enclosure that keeps the heating element separate from the chassis. Why? Because if a seal ever fails and water hits the element, we want the breaker to trip instantly. We don’t want the outer casing becoming “live” while you’re standing there in a towel. We also don’t use standard PVC wiring. It’s too flimsy. Under high heat, PVC cracks, and that’s an open door for moisture. We use heat-resistant, moisture-proof cabling instead. It just lasts longer. The tricky part: Heat vs. Protection. There’s always a trade-off. If you seal a unit too tight to keep water out, the internal electronics can’t breathe. They overheat. You can’t just wrap the whole thing in plastic and call it a day. Instead, we use vented, angled housings. It’s a clever bit of design that lets steam escape while keeping direct splashes away from the terminals. But remember, the hardware is only half the battle. You’ve got to make sure your bathroom’s GFCI is wired correctly to handle the infrared load. Without that safety switch in your wall, even the best insulation can’t do everything.